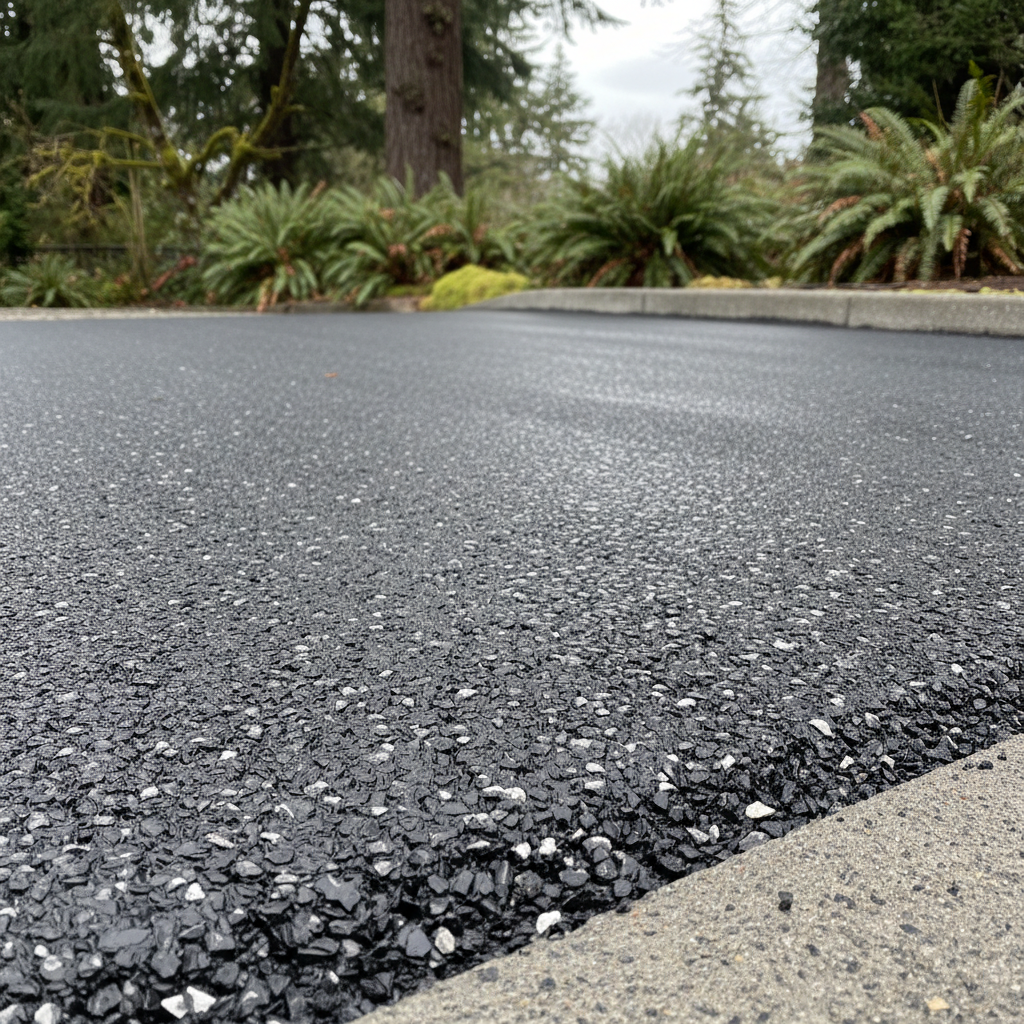
Alright, let's talk about commercial asphalt projects for a minute. Now, I know the title says 'commercial,' but honestly, a lot of what goes into a parking lot or a shared driveway for, say, a duplex or a small business applies just as much to homeowners. Especially if you've got a long driveway or a big area you're looking to pave. You might be thinking, "Can I just do some of this myself?" And the answer, like most things in life, is "it depends."
Before You Even Think About Paving
Planning is probably the most crucial part of any paving job. It's where you can save yourself a ton of headaches and money down the line, believe me. First off, figure out exactly what you need. Are we talking about a brand-new parking lot? A complete tear-out and replacement? Or just an overlay on an existing surface that's still in decent shape?
- Permits: This is a big one, especially here in Seattle. You'll almost certainly need permits for any significant paving work, particularly if it affects drainage or stormwater runoff. The City of Seattle and King County don't mess around with water management, given all the rain we get. Don't even think about skipping this step. Your contractor will usually handle this, but it's good to know it's happening.
- Drainage: Speaking of water, how's your current drainage situation? You absolutely don't want a new asphalt surface that turns into a pond every time it rains. Proper grading and drainage are non-negotiable. This isn't a DIY job unless you happen to be a civil engineer. You really need to get this right, or you'll be dealing with standing water, asphalt that fails too soon, and potential property damage.
- Budget: Get a realistic idea of what this project will cost. Asphalt isn't cheap, no, but it's an investment. Get multiple quotes. Don't just go for the cheapest guy; look for experience and a good reputation.
- Scope: What's underneath your current surface? If it's a gravel driveway that's been there for years, you might have a good base already. If it's a mess of old concrete and dirt, well, you'll definitely need more prep work.
What can you do yourself here? You can certainly research local contractors, understand the permit requirements (even if your contractor pulls them), and get a clear picture of your budget. You can also clear the area of any debris or overgrown bushes that might get in the way. But for anything involving grading, drainage design, or actual sub-base preparation, you're looking at professional work.
During the Project: What's Happening on Site
Once you've got your permits and picked your contractor, the real work begins. This is where you truly see why this isn't a DIY job for most people. Heavy equipment, specialized materials, and a crew that knows what they're doing are absolutely essential.
- Excavation and Grading: If it's a new installation or a full replacement, they'll be digging out the old stuff and grading the area. This makes sure water flows correctly and creates a stable foundation.
- Base Layer: A good base is critical. This is usually crushed aggregate, compacted really well. This is what supports the asphalt and keeps it from cracking and sinking. If the base isn't right, your asphalt won't last.
- Asphalt Application: Hot asphalt is laid down by specialized paving machines. Then it's compacted with heavy rollers. This has to happen quickly and efficiently while the asphalt is hot and pliable. This is definitely not a DIY job. You need the right equipment and a crew that can work together.
During this phase, your role is mostly observational. Make sure the crew is on schedule, that they're talking to you, and that the work matches what you agreed upon. If something looks off, ask questions. A good contractor, like us at Oasis Asphalt Paving, will be happy to explain what they're doing and why.
After the Paving: Maintenance and Care
Okay, the new asphalt is down, it looks great, and you're ready to use it. But the work isn't entirely over. Proper maintenance will make your asphalt last a lot longer.
- Curing Time: Don't drive on it immediately! Your contractor will tell you how long to wait. It's usually a few days for light traffic and longer for heavy vehicles. Be patient; it's worth it.
- Sealcoating: This is a big one. Sealcoating protects your asphalt from UV rays, water getting in, and chemicals like oil and gas. Think of it as sunscreen for your pavement. For commercial properties, I usually recommend sealcoating every 2-3 years, depending on traffic and wear. This is something some homeowners might try themselves for a small driveway, but for a large commercial area, you'll want a professional. It's a messy job, and getting an even, durable coat takes practice and the right equipment.
- Crack Sealing: Small cracks will show up over time. That's normal. Get them sealed quickly. Water is asphalt's worst enemy. If water gets into those cracks and freezes (not a huge problem in Seattle, but it happens), it expands and makes the cracks much worse. This is a DIY job for small cracks if you're handy and have the right materials, but for extensive cracking, call a pro.
- Cleaning: Keep your asphalt clean. Sweep away debris, dirt, and leaves. This stops organic matter from breaking down on the surface and causing issues.
So, while you might be able to handle some of the lighter maintenance like cleaning or even small crack sealing, the heavy lifting of planning, installation, and major repairs or sealcoating for a commercial-sized area really needs a professional touch. You're investing a lot of money into this, so make sure it's done right the first time. It'll save you money and headaches in the long run.