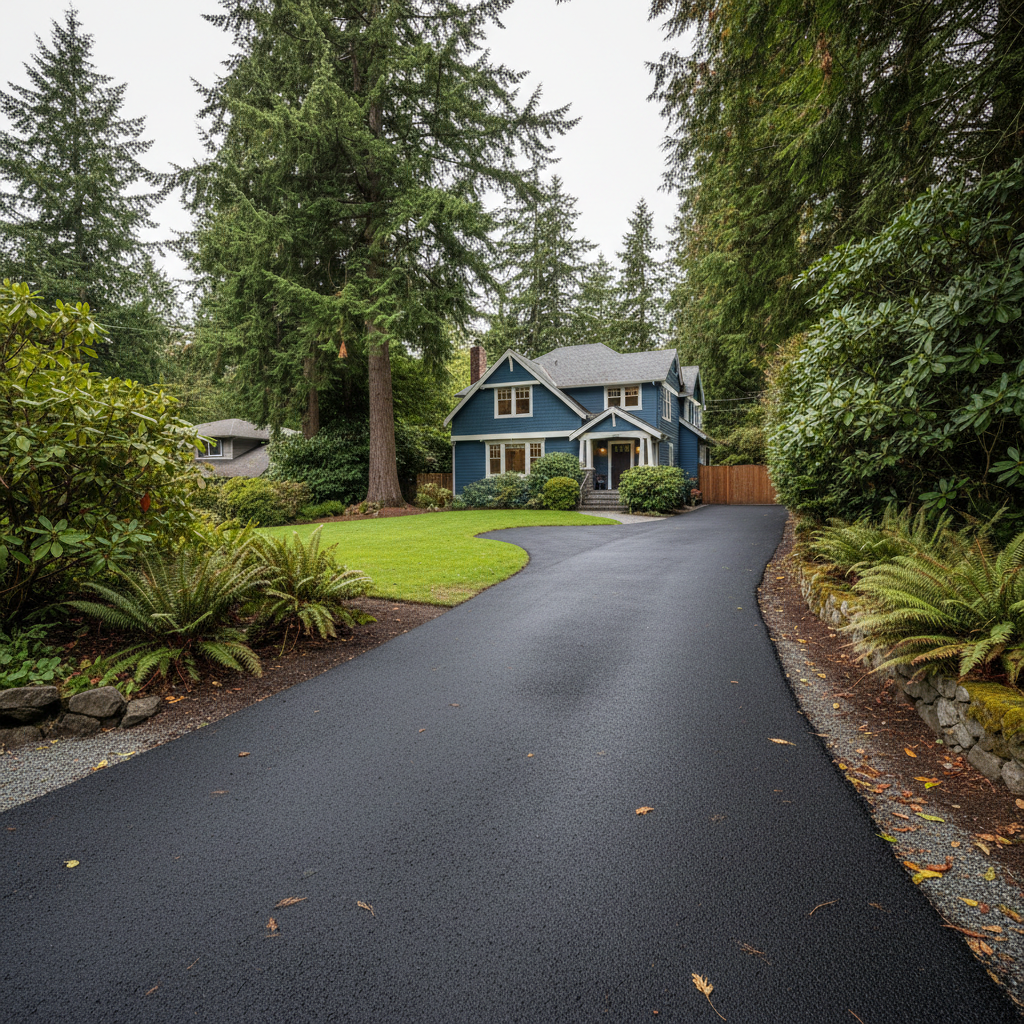
So, you're looking at sealcoating your driveway. Good call. It's one of the best things you can do to protect your investment and keep your asphalt looking sharp. But it's not just about slapping some black stuff down. There's a bit of planning involved to make sure it goes smoothly and you get a lasting result. Here's what you need to know before you sign on the dotted line.
When to Plan Your Sealcoating Project
Timing is pretty crucial here in Seattle. You can't just sealcoat any old day. We need consistent dry weather, and that means warmer temperatures. Generally, I tell folks to aim for late spring through early fall – think May through September. You want daytime temperatures consistently above 50°F, and ideally, no rain for at least 24-48 hours before and after the application. If it's too cold, the sealer won't cure properly. If it rains too soon, it'll wash right off, and nobody wants that. Sometimes we get those unexpected late-season rain showers, especially in areas like West Seattle where the microclimates can be a bit unpredictable, so always keep an eye on the forecast.
Don't wait until your asphalt is falling apart. Sealcoating is preventative maintenance. If your driveway is riddled with cracks wider than a quarter-inch, or it's got major potholes, you're looking at repairs first, then sealcoating. Think of it like painting your house – you fix the holes and prime before you paint, right? Same idea.
What to Expect During the Process
Alright, so you've picked a date. What happens next? It's usually a two-day process, sometimes three depending on the size of the job and specific repairs needed. Here's the rundown:
- Day 1: Prep Work. This is probably the most important part. We'll clean the surface thoroughly. That means blowing off all debris, sweeping, and sometimes even power washing if there's a lot of grime or moss. Then we'll address any minor cracks, filling them with hot rubberized crack filler. We'll also treat any oil or gas stains to help the sealer adhere better. This day is all about getting a clean, stable surface.
- Day 2: Application. This is when the magic happens. We'll apply the first coat of asphalt sealer. It's usually applied with a squeegee or spray system, depending on the specific product and surface. We aim for an even, consistent layer. After that first coat dries (which can take several hours depending on humidity and temperature), we'll often apply a second coat for maximum protection and a richer, darker finish.
- Curing Time: This is where you need patience. You can't drive on it right away. Foot traffic is usually okay after 12-24 hours, but you need to keep vehicles off for at least 24-48 hours, sometimes even longer if it's cooler or more humid. We'll block off your driveway with cones or tape. It's not just about it being dry to the touch; it needs to fully cure and harden. Driving on it too soon will leave tire marks and compromise the sealer's integrity.
How to Prepare Your Driveway for Sealcoating
You've got a role to play too! A little prep on your end helps us do our best work and keeps your project on schedule.
- Clear the Area: Move any cars, boats, RVs, basketball hoops, potted plants, garbage cans, or anything else off the driveway and adjacent areas. We need clear access.
- Trim Vegetation: If you have bushes or grass growing right up against the edge of your driveway, trim them back a bit. This prevents sealer from getting on your plants and gives us room to work right up to the edge.
- Turn Off Sprinklers: Make sure your sprinkler system is off for at least 24 hours before and after the scheduled application. We don't want any unexpected showers.
- Inform Neighbors: If your driveway is shared or close to a neighbor's property, give them a heads-up about the work and the temporary access restrictions.
- Plan for No Access: Seriously, plan for it. If you need your car, make sure it's parked on the street or somewhere else accessible before we start. You won't be able to get it out (or in) for a couple of days.
Questions to Ask Before You Sign a Contract
Don't just go with the cheapest bid. Ask some smart questions to make sure you're getting a quality job from a reputable company like Oasis Asphalt Paving.
- What type of sealer do you use? There are different grades and types. Coal tar emulsion and asphalt emulsion are common. Ask about the solids content and if it's fortified with polymers for extra durability.
- How many coats do you apply? Two coats are standard for a good, long-lasting job. If they only offer one, ask why.
- What's your prep process? Make sure they include cleaning, crack filling, and stain treatment. Skipping prep is a huge red flag.
- What's your warranty? A good contractor will stand behind their work. Ask about what's covered and for how long.
- Are you licensed and insured? This is non-negotiable. You want to make sure they're legitimate and that you're protected in case of an accident.
- Can you provide references or photos of past work? Seeing is believing. Look for driveways that still look good a year or two after sealcoating.
- What's the estimated curing time? Get a clear understanding of when you can safely use your driveway again.
Asking these questions upfront will save you headaches down the road. Sealcoating is an investment, and with proper planning and a good contractor, your Seattle driveway will look great and last longer.